Day 02
Introduction
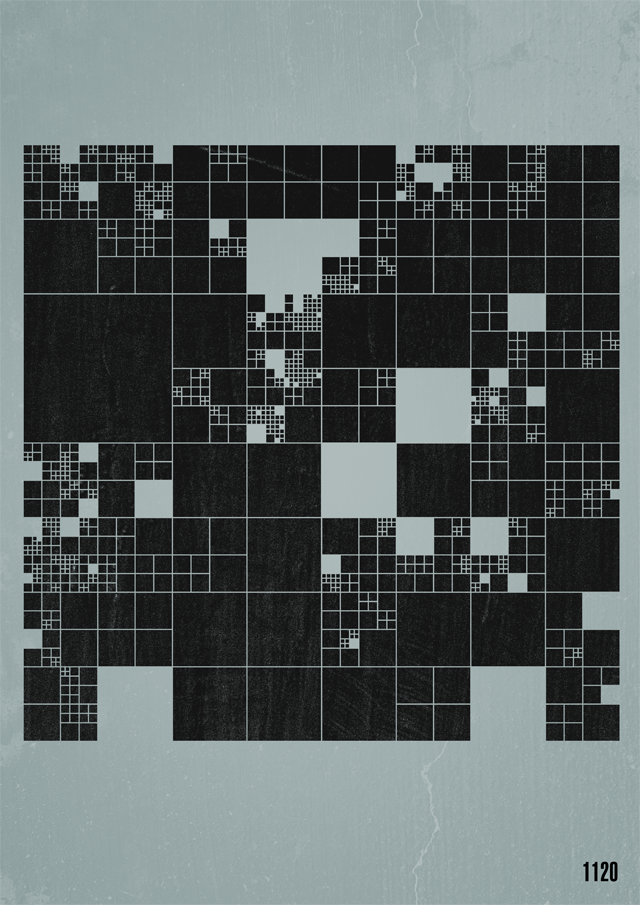
The topic of the second day is “Grid”. I wanted to work with different geometric shapes and color. A big inspiration was this grid from Fabio Franchino. I liked they way the cubes are getting divided.
Concept
I wanted to create a Grid, but the objects could be in a random size, therefore the image would consist with big and small objects. 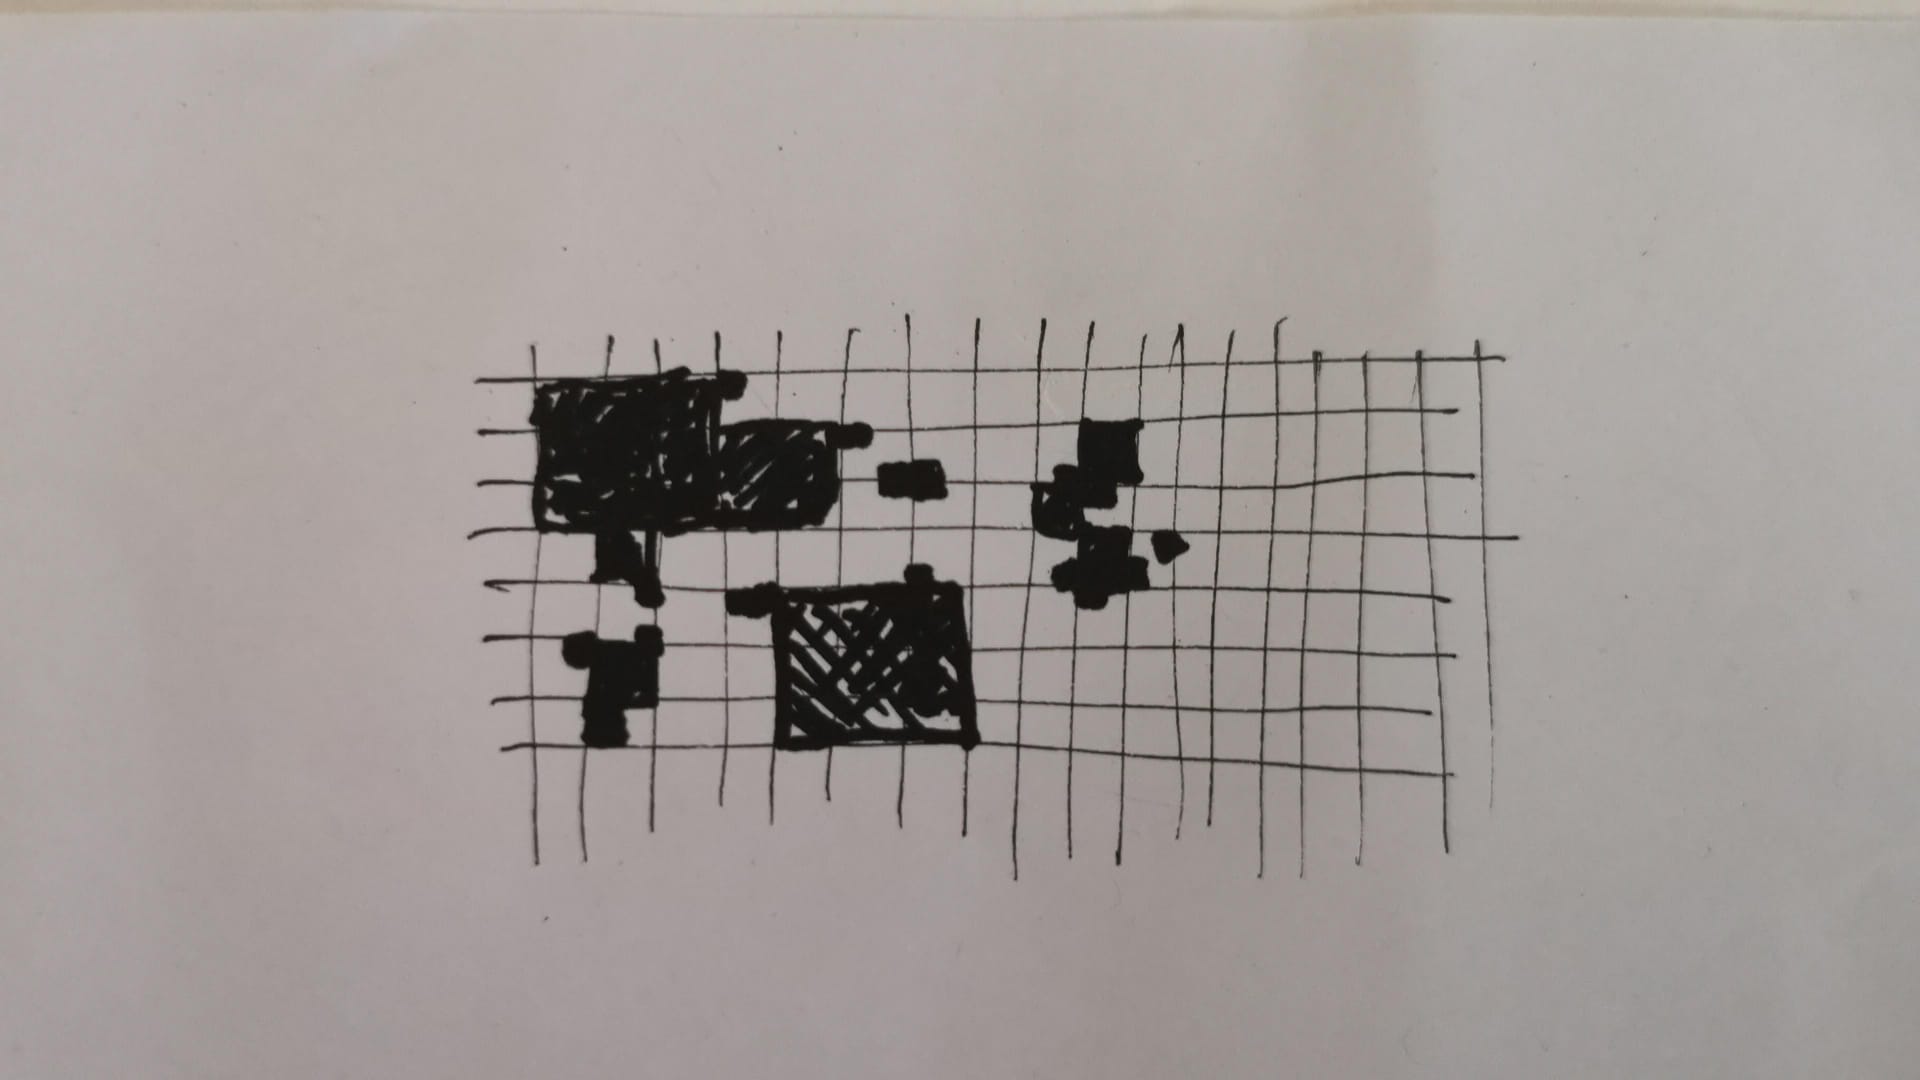
First Step
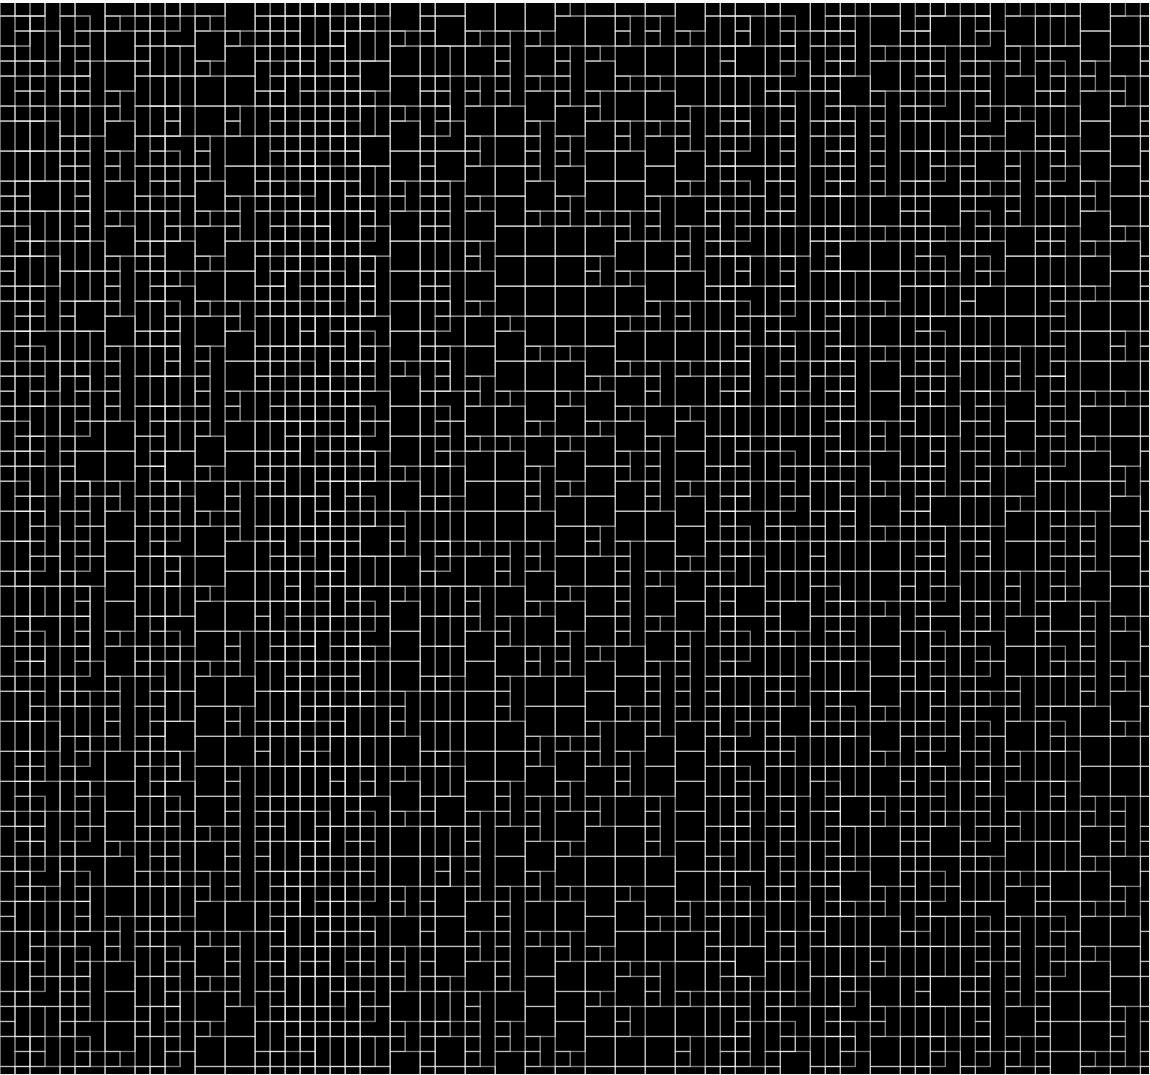
At first I created grids with 2 for-loops. Those loops passed the x and y coordinates to the objects. My plan was to start with squares and play with color
// create squares along the x and y axis of the window
function overlay(){
    for (let x = base; x < width; x += size) {
    for (let y = base; y < height; y += size) {
      strokeWeight(0.2)
      square(x, y, size);

    }
  }
}
Second try
After spending some time with my first iteration, it was clear that I needed a way to subdivide the boxes, and somehow pass the new value to the object. The article from Misha.Studio gave me a idea how to subdivide, sadly it was in processing, which was a bit abstract for me. Luckily I found an example from Ahmad Moussa. It used recursive functions, which calls itself 4 times. On call the random function is subtracting 1 or 2 from depth. Until it reaches 0. Then the else statement will create a object.
function createCell(posX, posY, wid, hei, depth){
  if(depth>0){

    createCell(posX, posY, wid/2, hei/2, depth-int(random([1,2])))
    createCell(posX+wid/2, posY, wid/2, hei/2, depth-int(random([1,2])))
    createCell(posX, posY+hei/2, wid/2, hei/2, depth-int(random([1,2])))
    createCell(posX+wid/2, posY+hei/2, wid/2, hei/2, depth-int(random([1,2])))

  } else {
    rect(posX, posY, wid, hei)
    point(posX+wid/2,posY+hei/2)
  }
}
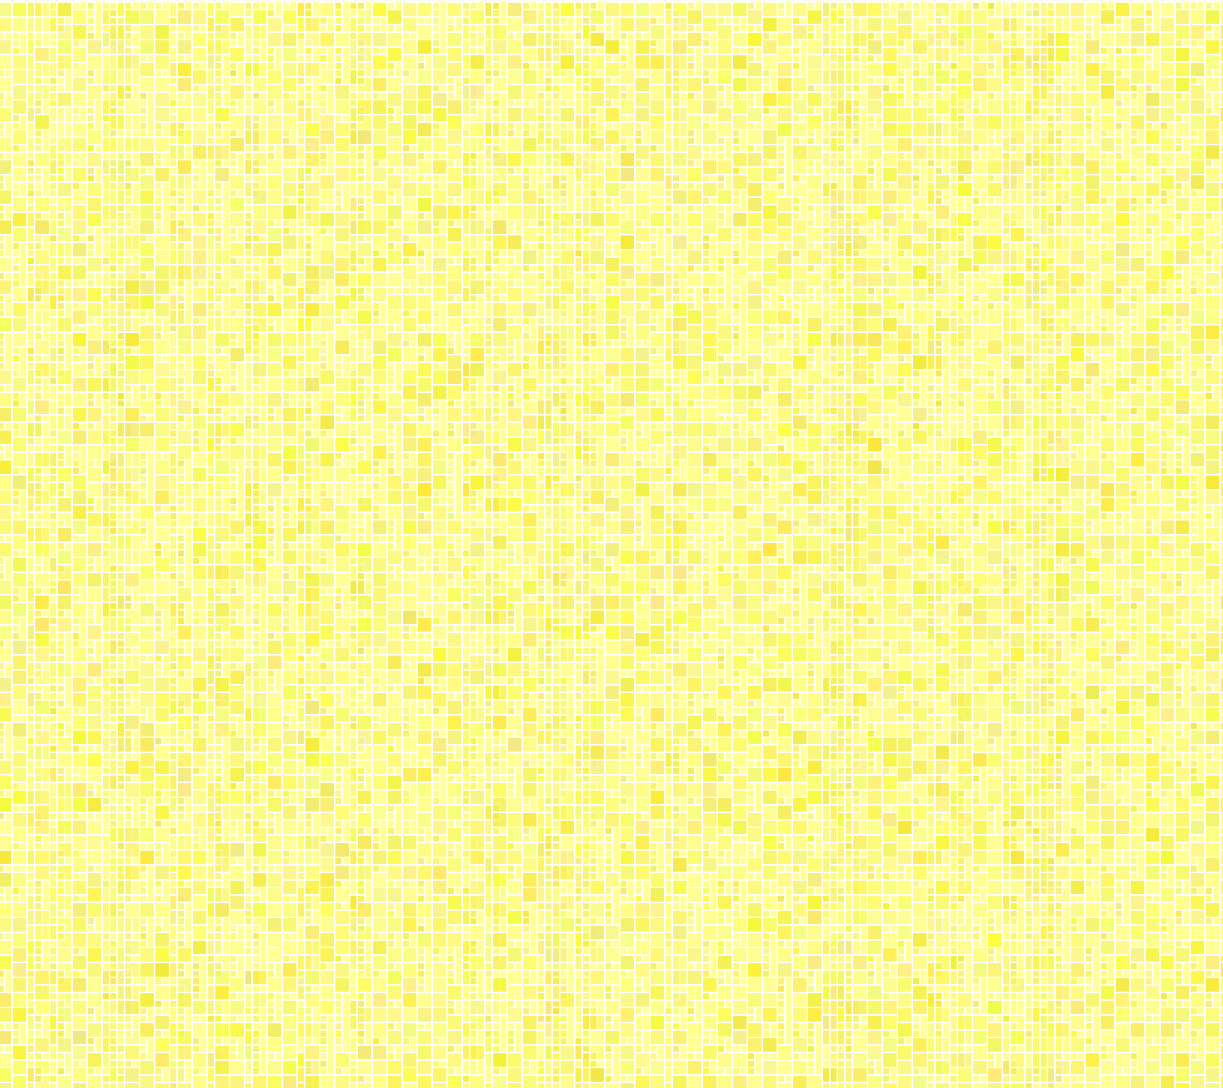
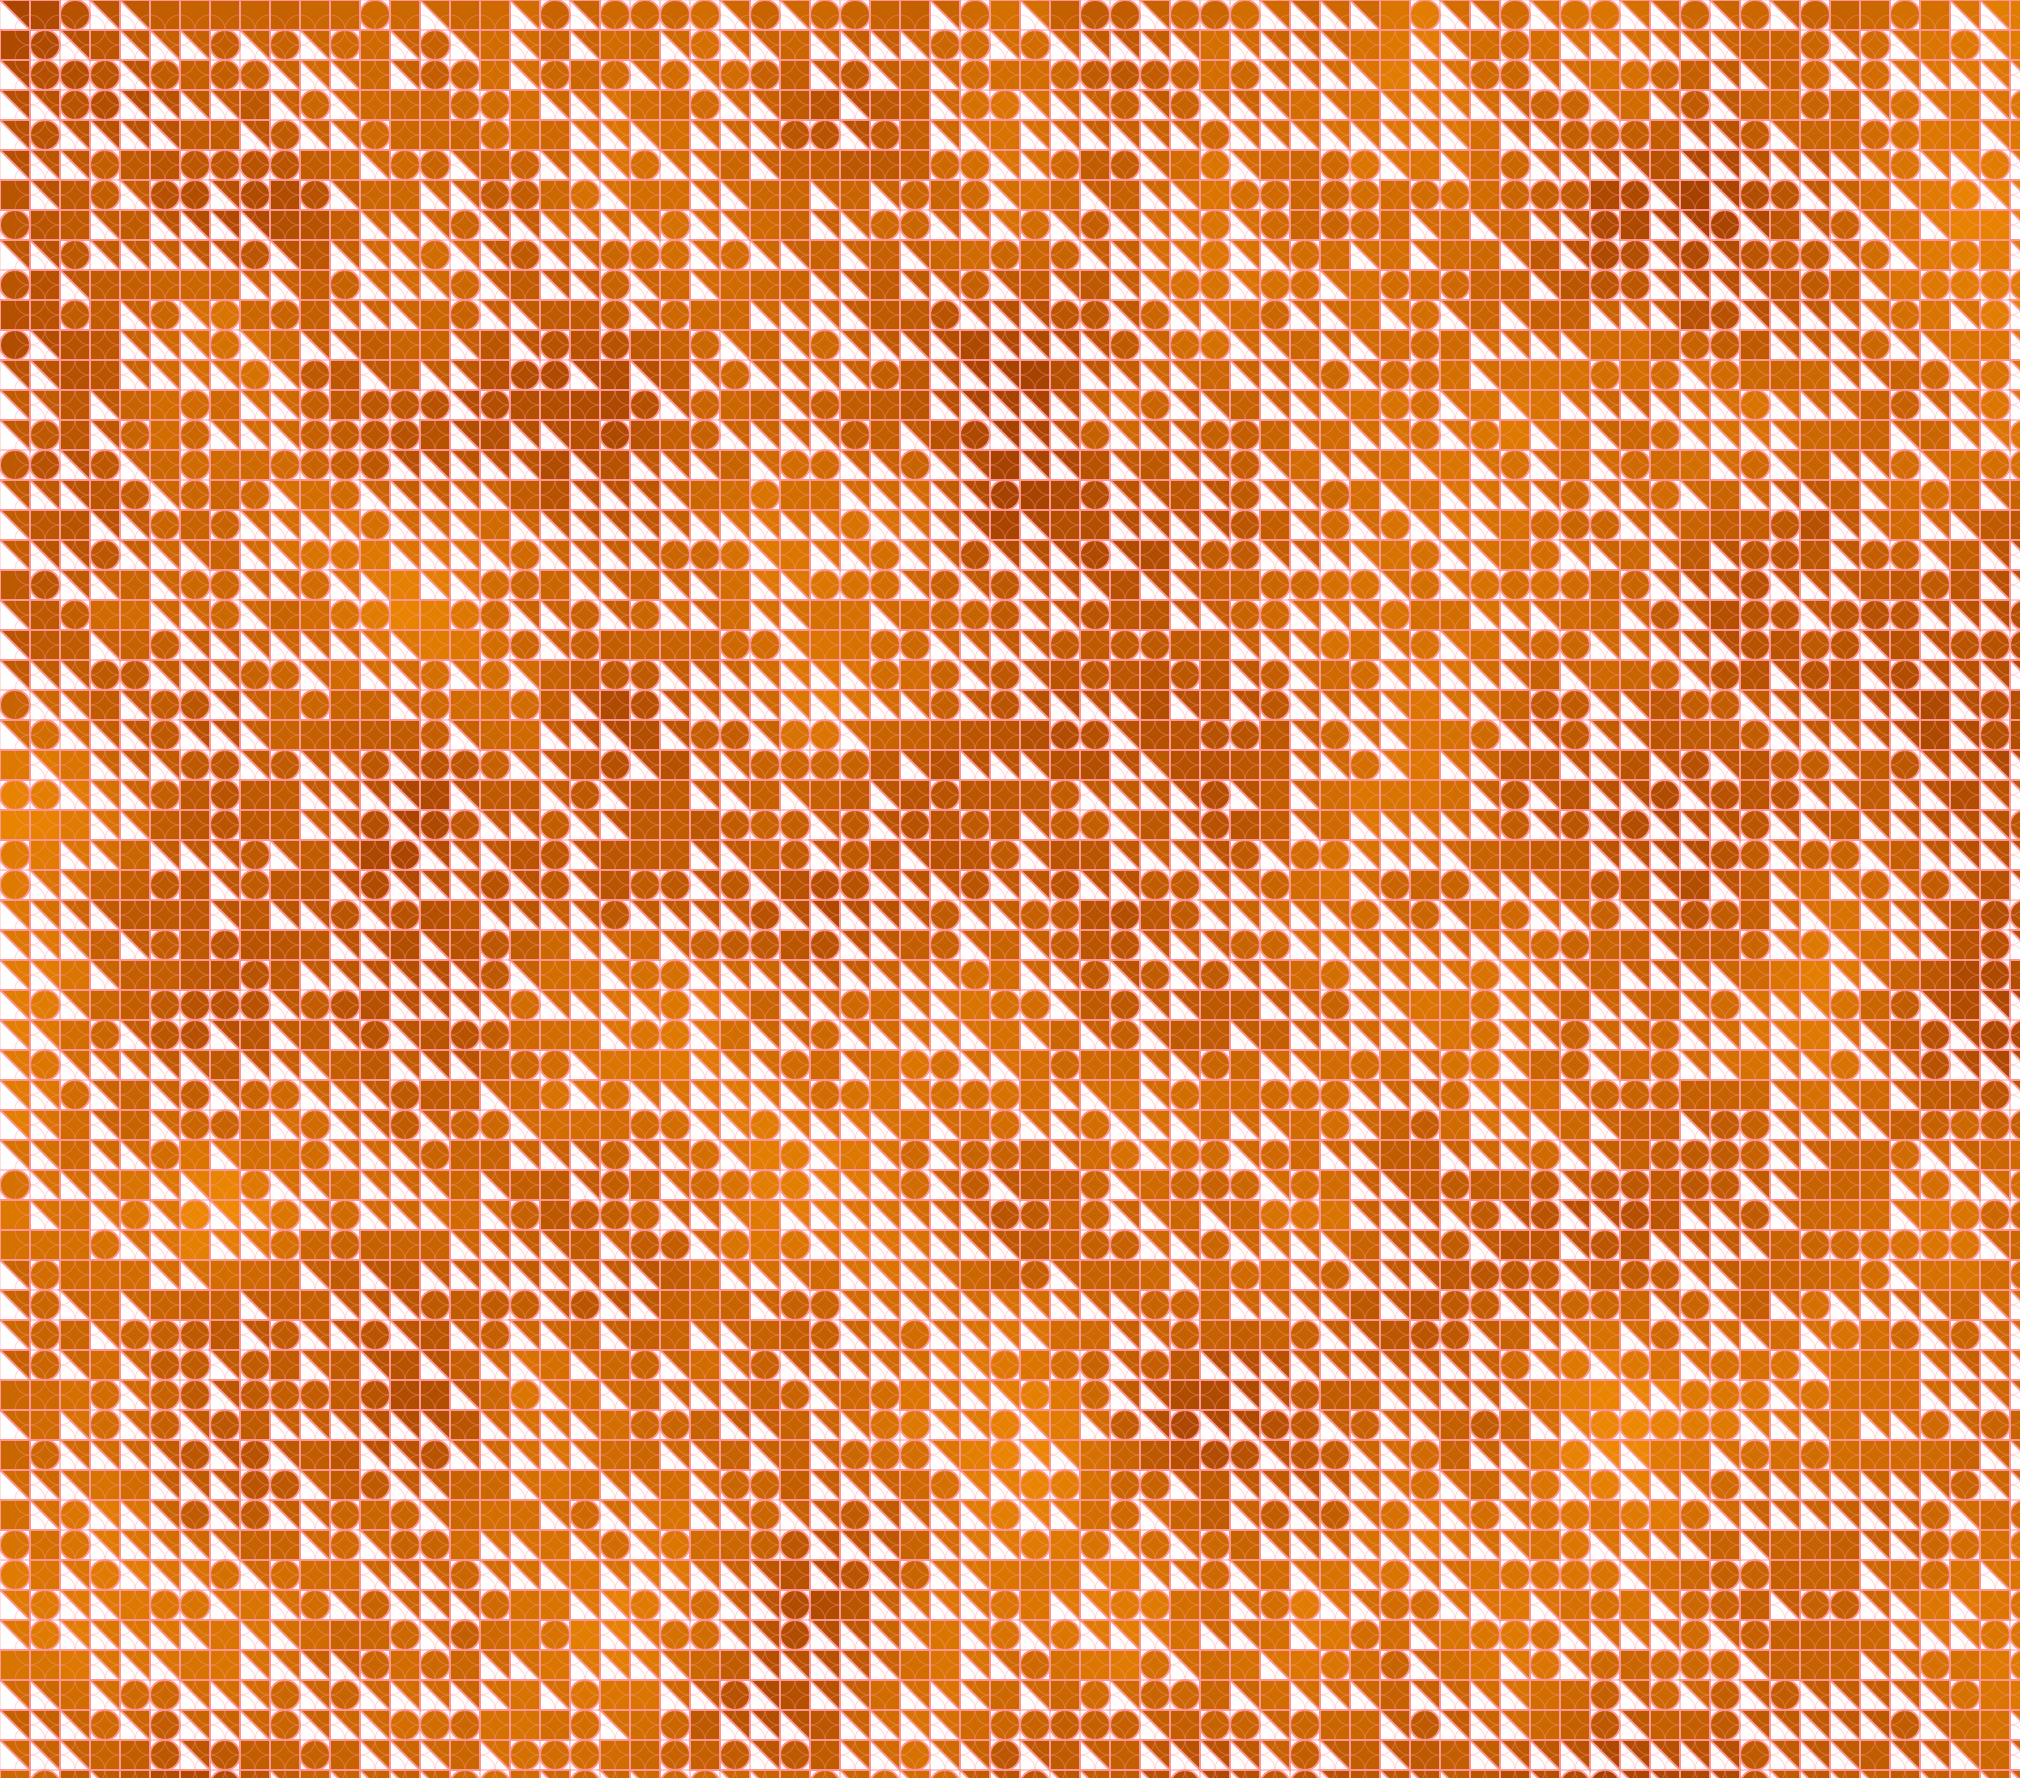
I felt like this was simple and effective approach. Later on my journey I will add different shapes and colors to it, so easier the better. I created the grid based on the example and played around with colors and variations

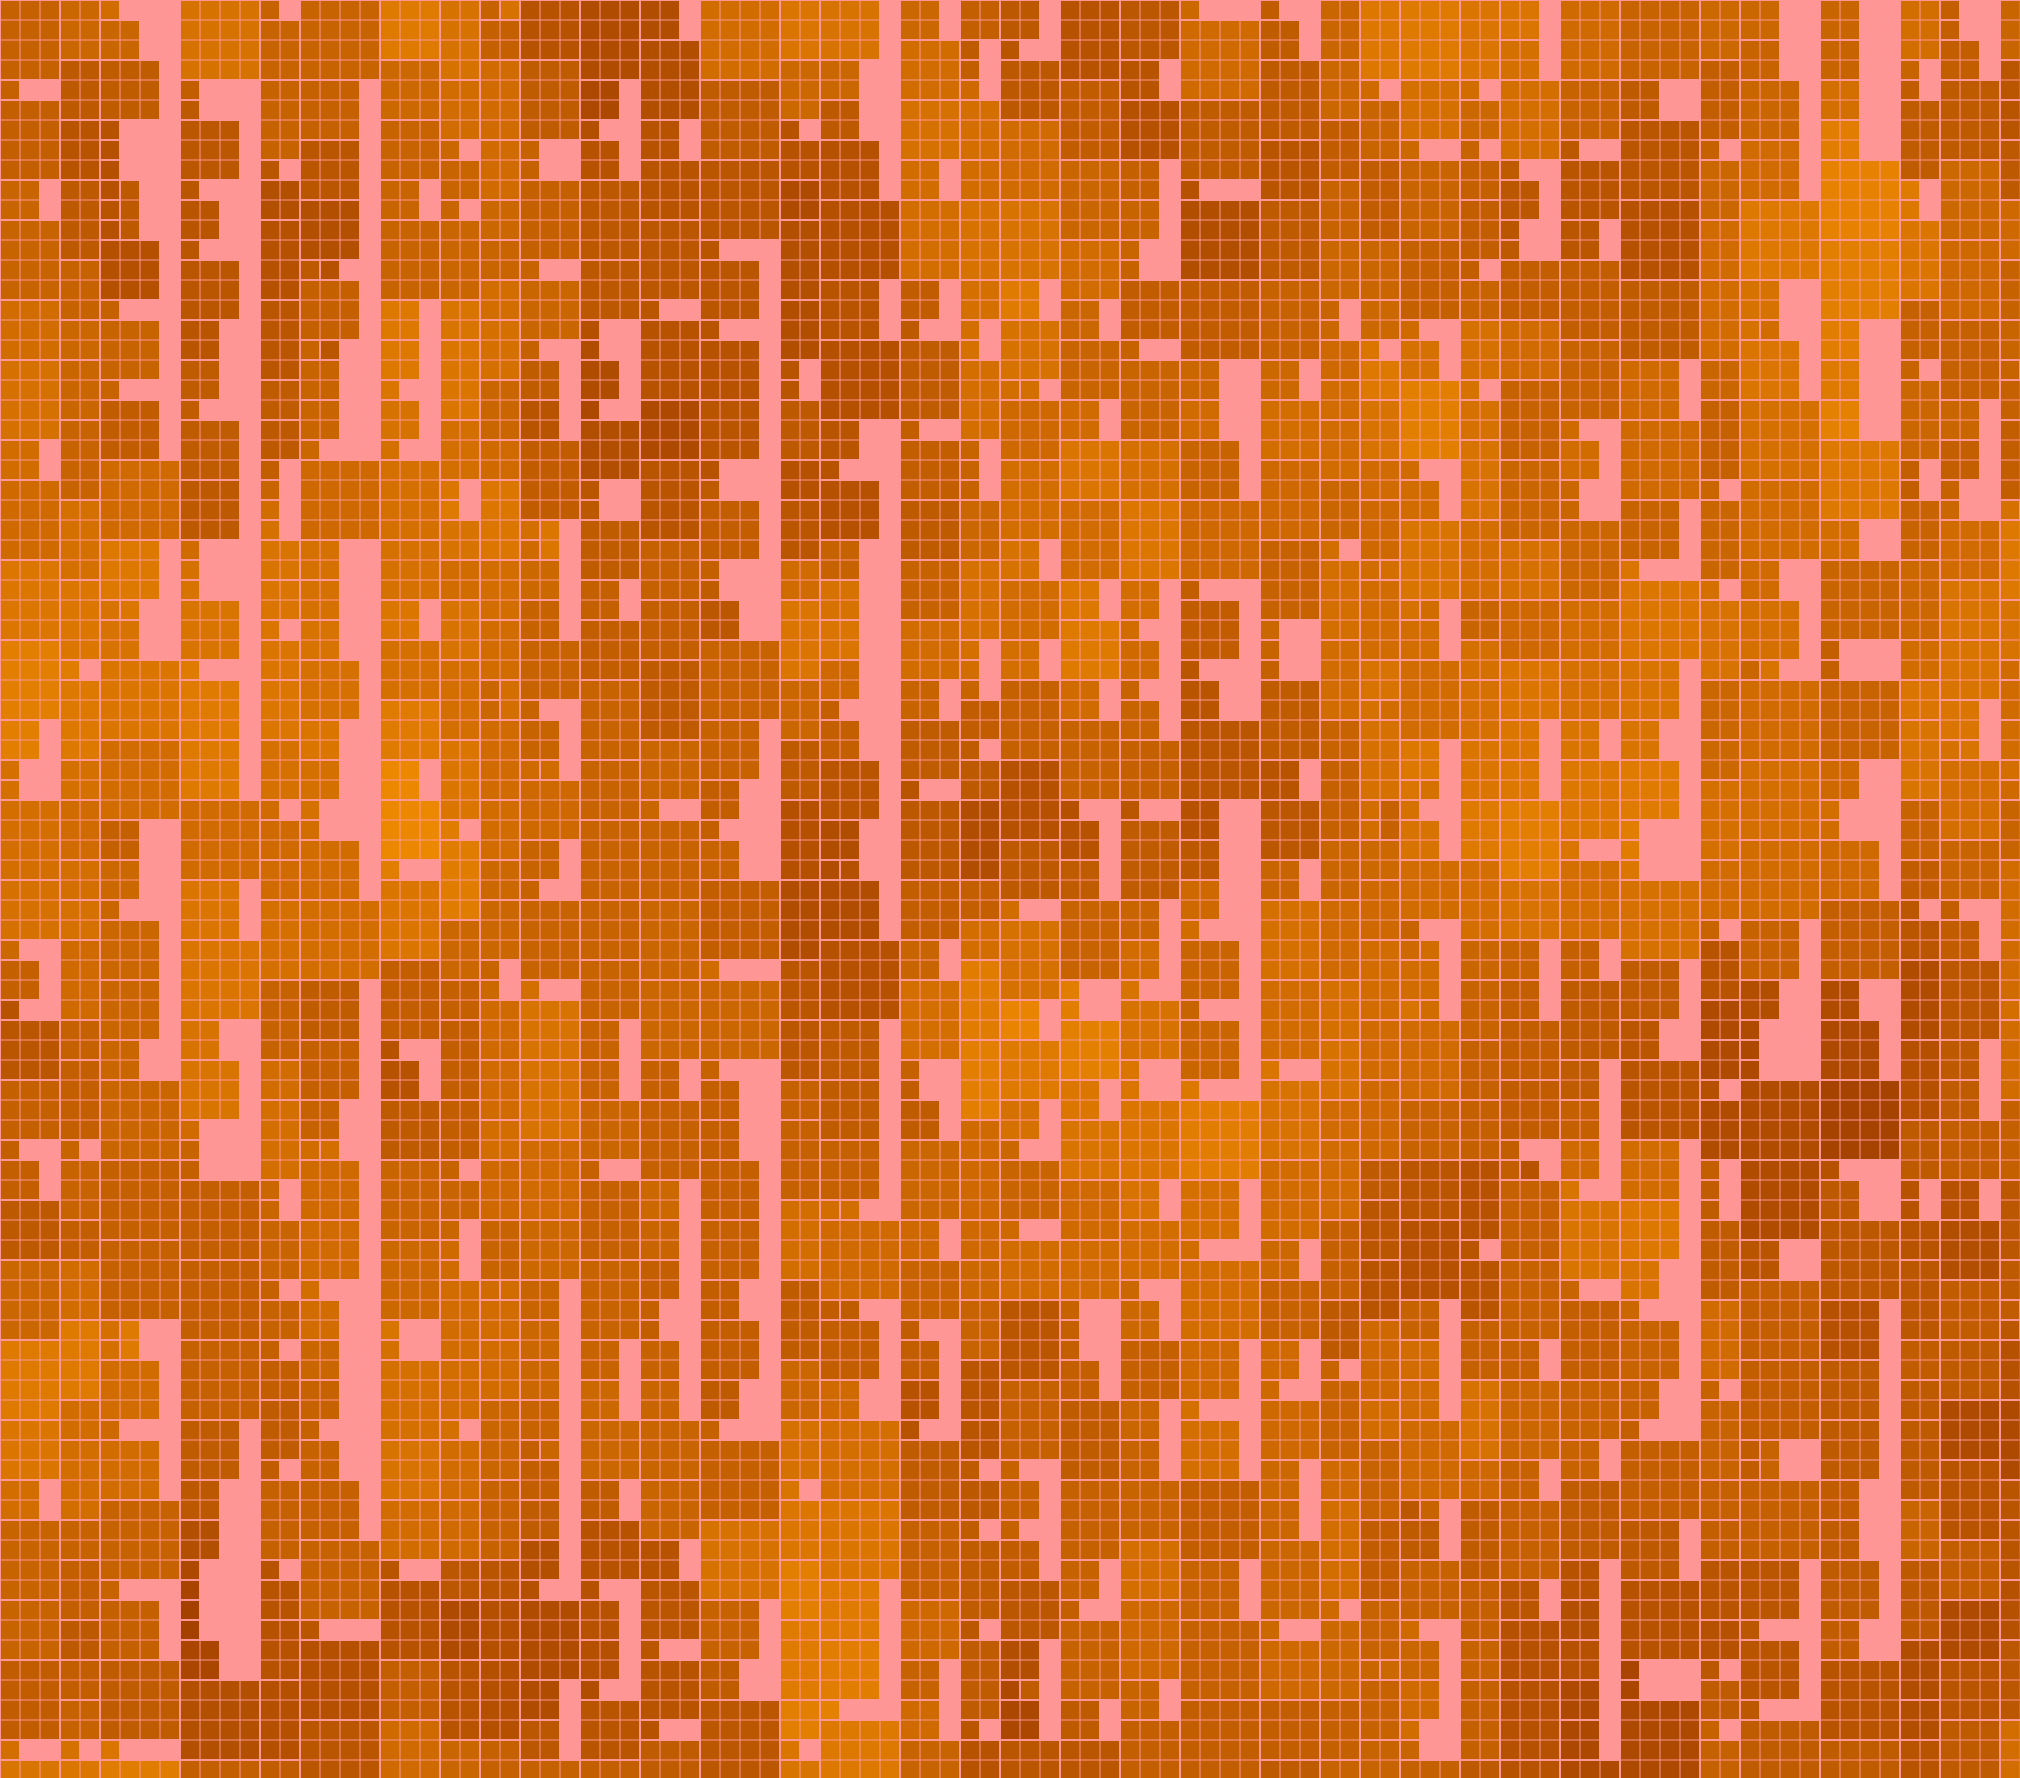
Shapes and Color
For the shapes I added a random number. Every loop the number declares what shape will be drawn into the box. the following shapes are possible: circle, diamond, triangle and square.
// picker variable is chosing a random number
let picker = floor(random(1, 5));
if (picker == 1) {
    fill(255, shade, colorPicker)
    circle(posX+bWidth/2, posY+bWidth/2, bWidth);
    circle(posX+bWidth/2, posY+bWidth/2, bWidth/2);
} else if (picker == 2) {
    fill(colorPicker, colorPicker, 255)
    push();
    translate(posX + bWidth / 2, posY + bHeight / 2);
    rotate(90*floor(random(1,5)));
    triangle(-bWidth / 2,-bHeight / 2,bWidth / 2,-bHeight / 2,0,bHeight / 2);
    pop();
} else if (picker == 3) {
    fill("yellow")
    push();
    translate(posX + bWidth / 2, posY + bHeight / 2);
    rotate(45);
    square(-bWidth/2*.7 ,-bHeight/2*.7 , bWidth*.7);
    pop();
} else {
    fill(colorPicker, shade, colorPicker)
    square(posX, posY, bWidth);
}
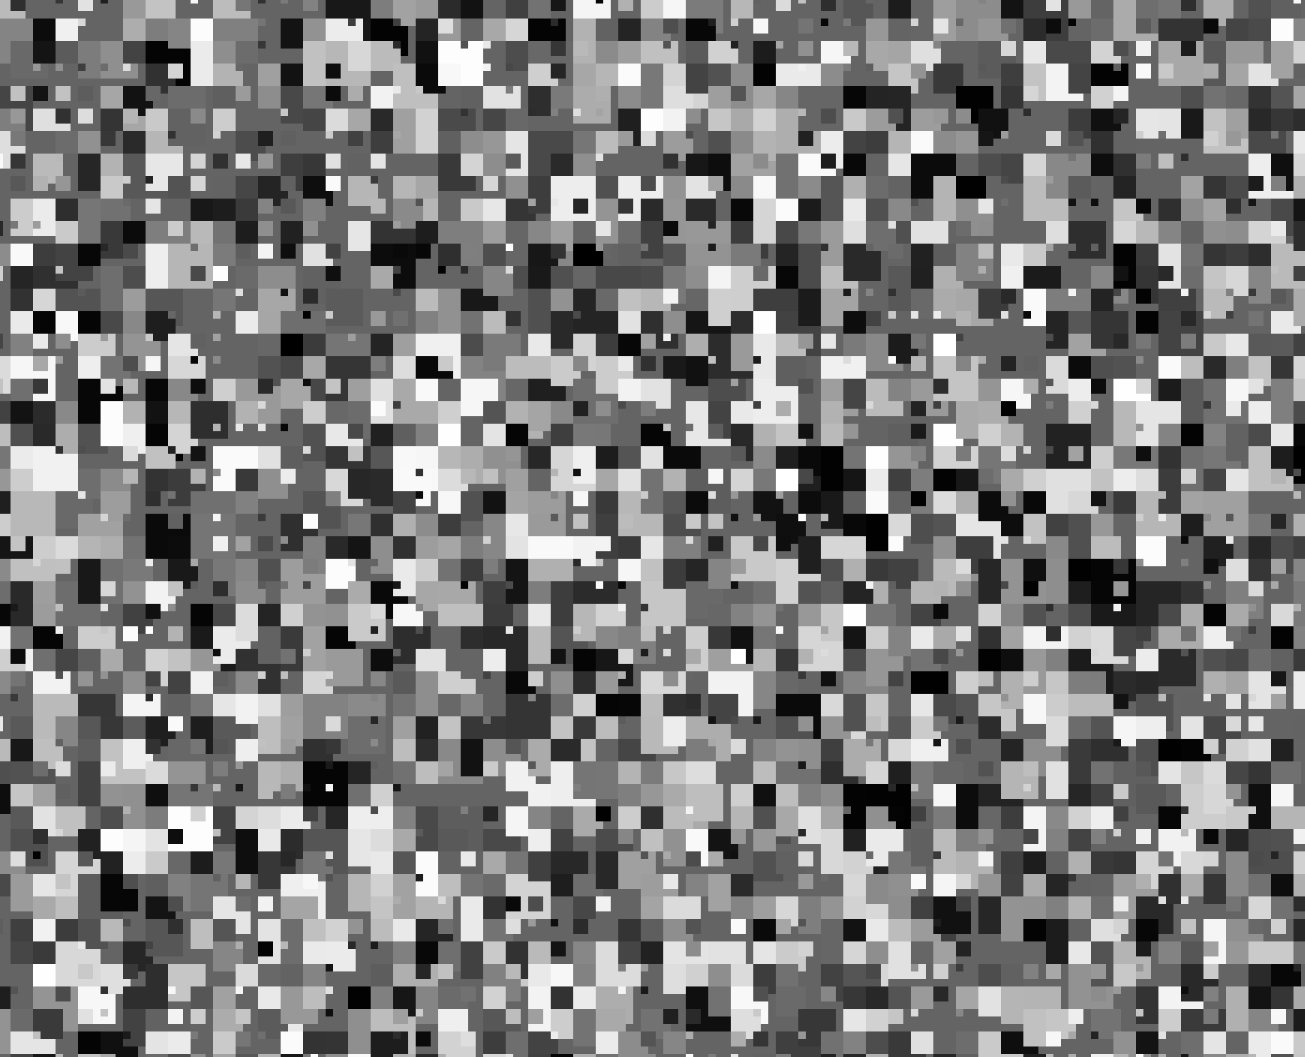
Animation
For the animation I set the framerate to 1 and changed the subdivision of the boxes. So every second a new image appears with different shapes, colors and sizes. It loops from very small to very big and so on.
Code
Here you can check out the code
Ressources
Article about Subdividing Grids
Coding Example for Subdividing Grids in p5
Variations
Variation 1
Variation 2
Variation 3
Variation 4, Recursive \